Category: Uncategorized
How to Insulate a Garage Door
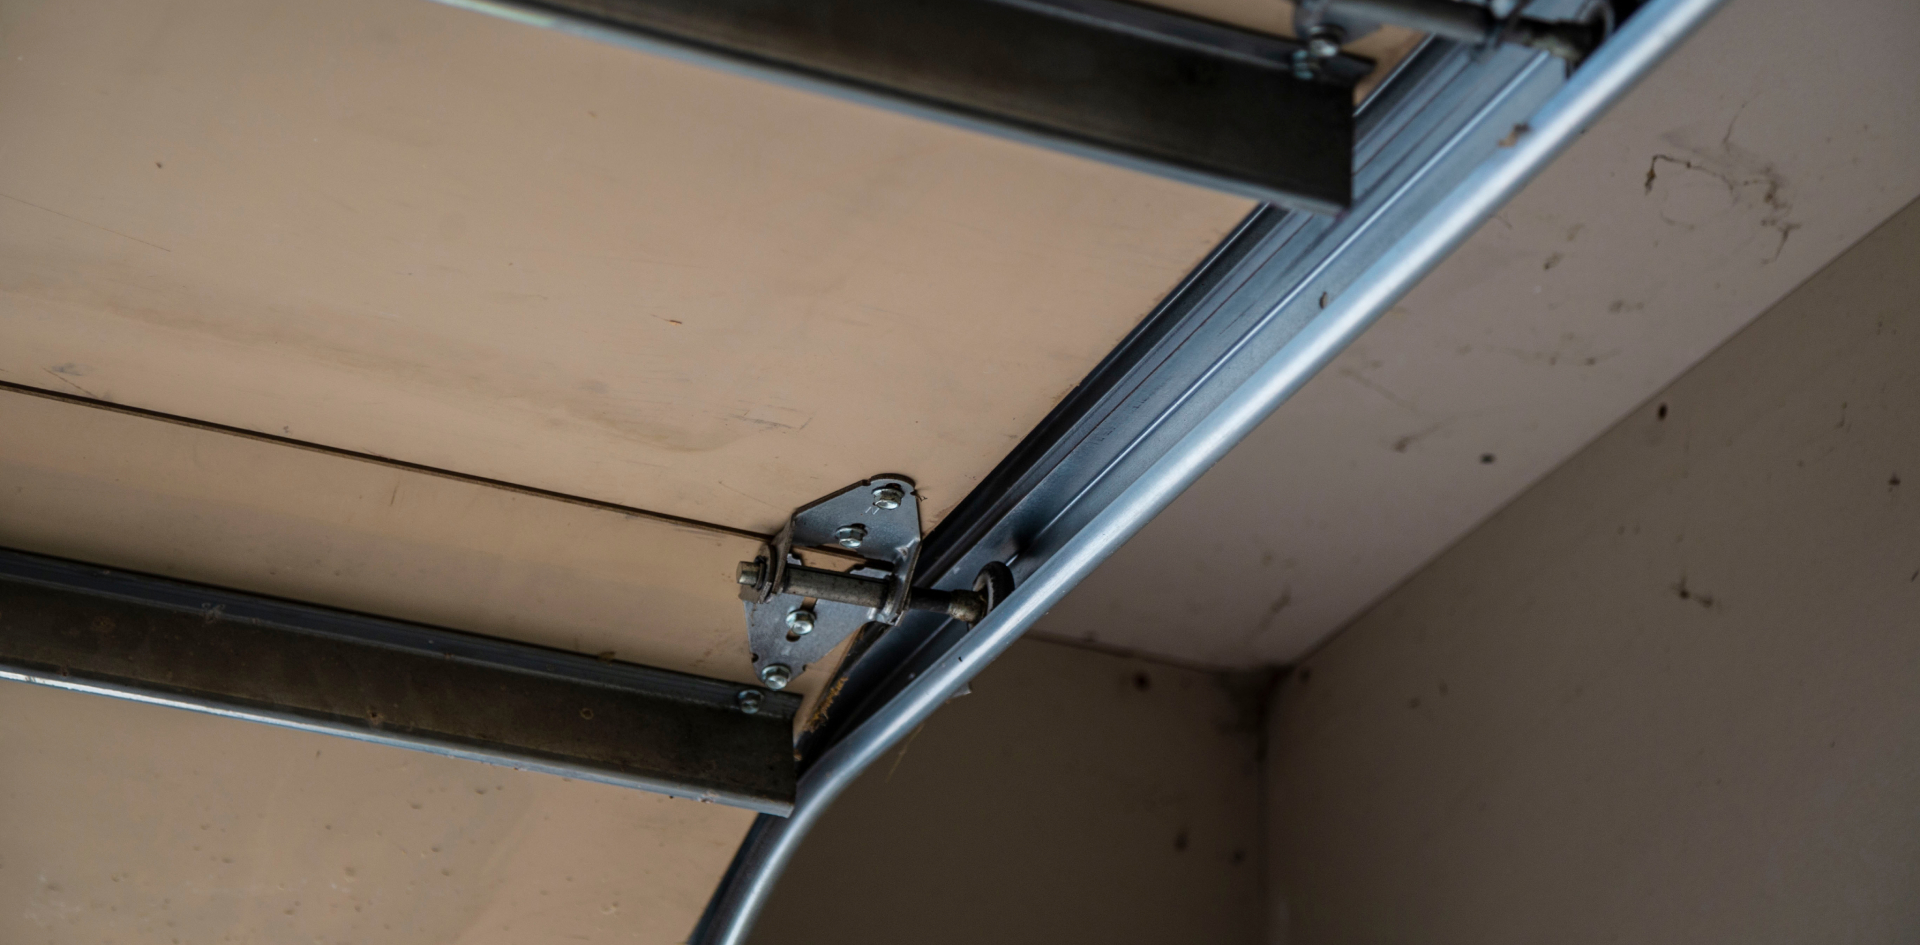
The garage: it’s more than just a space to park your vehicle. For many, it doubles as a workshop, storage area, or even a personal gym. Whatever its purpose, ensuring that your garage remains comfortable, especially during temperature extremes, is crucial. A significant factor in maintaining this comfort is proper garage door insulation. Not only […]

The garage: it’s more than just a space to park your vehicle. For many, it doubles as a workshop, storage area, or even a personal gym. Whatever its purpose, ensuring that your garage remains comfortable, especially during temperature extremes, is crucial. A significant factor in maintaining this comfort is proper garage door insulation. Not only does insulation help regulate temperature, but it also conserves energy, reduces noise, and increases your garage door’s longevity. This comprehensive guide will walk you through the process of insulating your garage door efficiently.
Why Insulate Your Garage Door?
- Temperature Regulation: An insulated garage door aids in keeping the cold out during winters and the heat at bay during summers. It makes the space usable year-round, especially if you have activities planned inside.
- Energy Efficiency: Proper insulation can lead to decreased energy bills. By stabilizing the garage’s temperature, the connecting home areas require less energy for heating or cooling.
- Noise Reduction: Insulation acts as a buffer, reducing the noise from both the street and the door’s operations.
Enhanced Durability:
Insulated doors are often more robust than their non-insulated counterparts. The insulation adds a layer of protection against dents and damage.
Types of Garage Door Insulation
Before diving into the installation process, familiarize yourself with the primary types of insulation materials:
- Batt Insulation: Made of fiberglass, it’s backed by a paper or foil layer which acts as a vapor and air barrier.
- Foam Board Insulation: These are rigid panels made of polystyrene. They offer a high insulating value with relatively little thickness.
- Reflective Insulation: This is reflective aluminum foil attached to a substrate material, reflecting radiant heat and making it perfect for hot climates.
- Spray Foam Insulation: Polyurethane or latex foam sprayed directly onto the surface, providing an airtight seal.
Steps to Insulate Your Garage Door
Measure and Prep
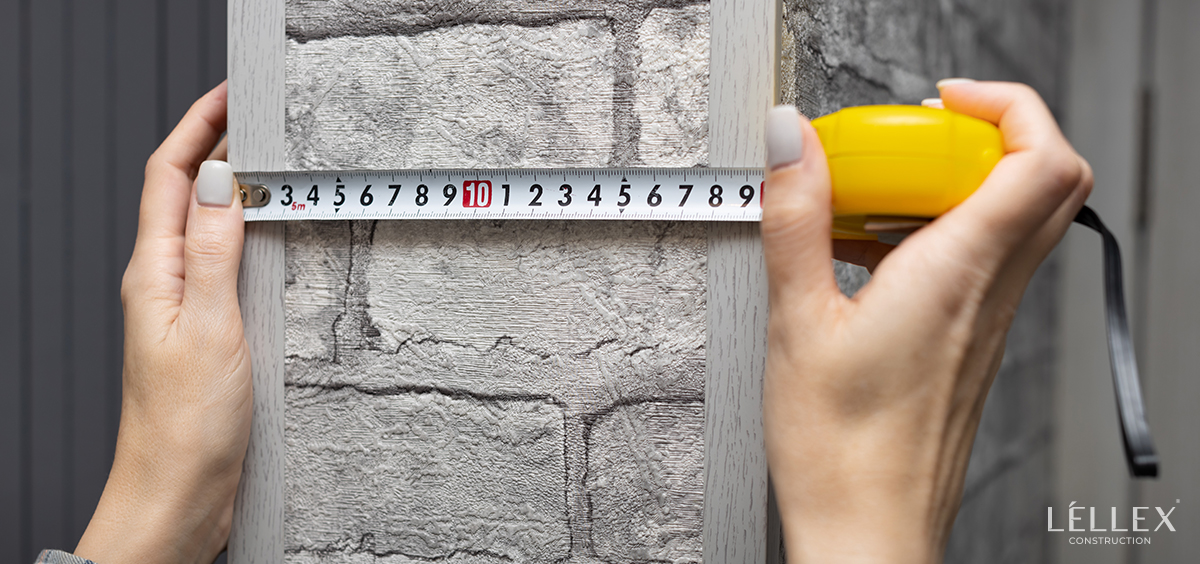
Start by measuring your garage door panels. Accuracy is crucial, so always double-check your measurements. Clean the interior side of the door with a mild detergent to ensure the insulation adheres correctly.
Choose the Right Insulation Type
Based on your region’s climate and your garage’s specific needs, pick the most suitable insulation type. If you’re in a colder area, focus on materials with a higher R-value, which indicates better insulating properties.
Cutting and Fitting Insulation
If you’re using batt, foam board, or reflective insulation, you’ll likely need to cut it to fit the door panels. Always cut a little larger than the measured size for a snug fit. If using spray foam, follow the manufacturer’s instructions closely.
Secure the Insulation
For foam board or batt insulation, secure the material using adhesive. Some insulation kits come with pins or clips for added security. If you’re using spray foam, once sprayed, allow it to expand and fill the space. Ensure that moving parts of the door aren’t affected.
Seal the Edges
To maximize efficiency, it’s crucial to seal the edges. Use weatherstripping or a sealant to close gaps, ensuring no air leaks.
Test the Door
After everything is in place and dried, open and close the garage door multiple times to ensure smooth operation. Check for any areas of friction or resistance.
Tips for Best Results
- Safety First: Wear protective gear, especially gloves and safety glasses. When working with fiberglass insulation, long sleeves can protect against skin irritation.
- Check Door Balance: After insulation, your garage door will be heavier. It’s crucial to ensure the door’s balance to avoid undue stress on the opener or the potential hazard of a falling door. You might need to adjust or upgrade the spring system.
- Consider Door Material: Metal doors are conducive for foam board or reflective insulation, while wooden doors might benefit more from batt insulation.
- Don’t Neglect the Weatherstripping: The base of your garage door should have a seal. If it’s worn out, consider replacing it to complement your new insulation.
Insulating your garage door is an investment in comfort, energy efficiency, and enhanced lifespan for your door. While the task might seem daunting initially, with the right tools, materials, and a systematic approach, it’s achievable as a DIY project. However, if you’re unsure or hesitant, always consider seeking assistance from professionals. Whether it’s a space for work, storage, or recreation, an insulated garage ensures your garage remains a versatile extension of your home, no matter the season.
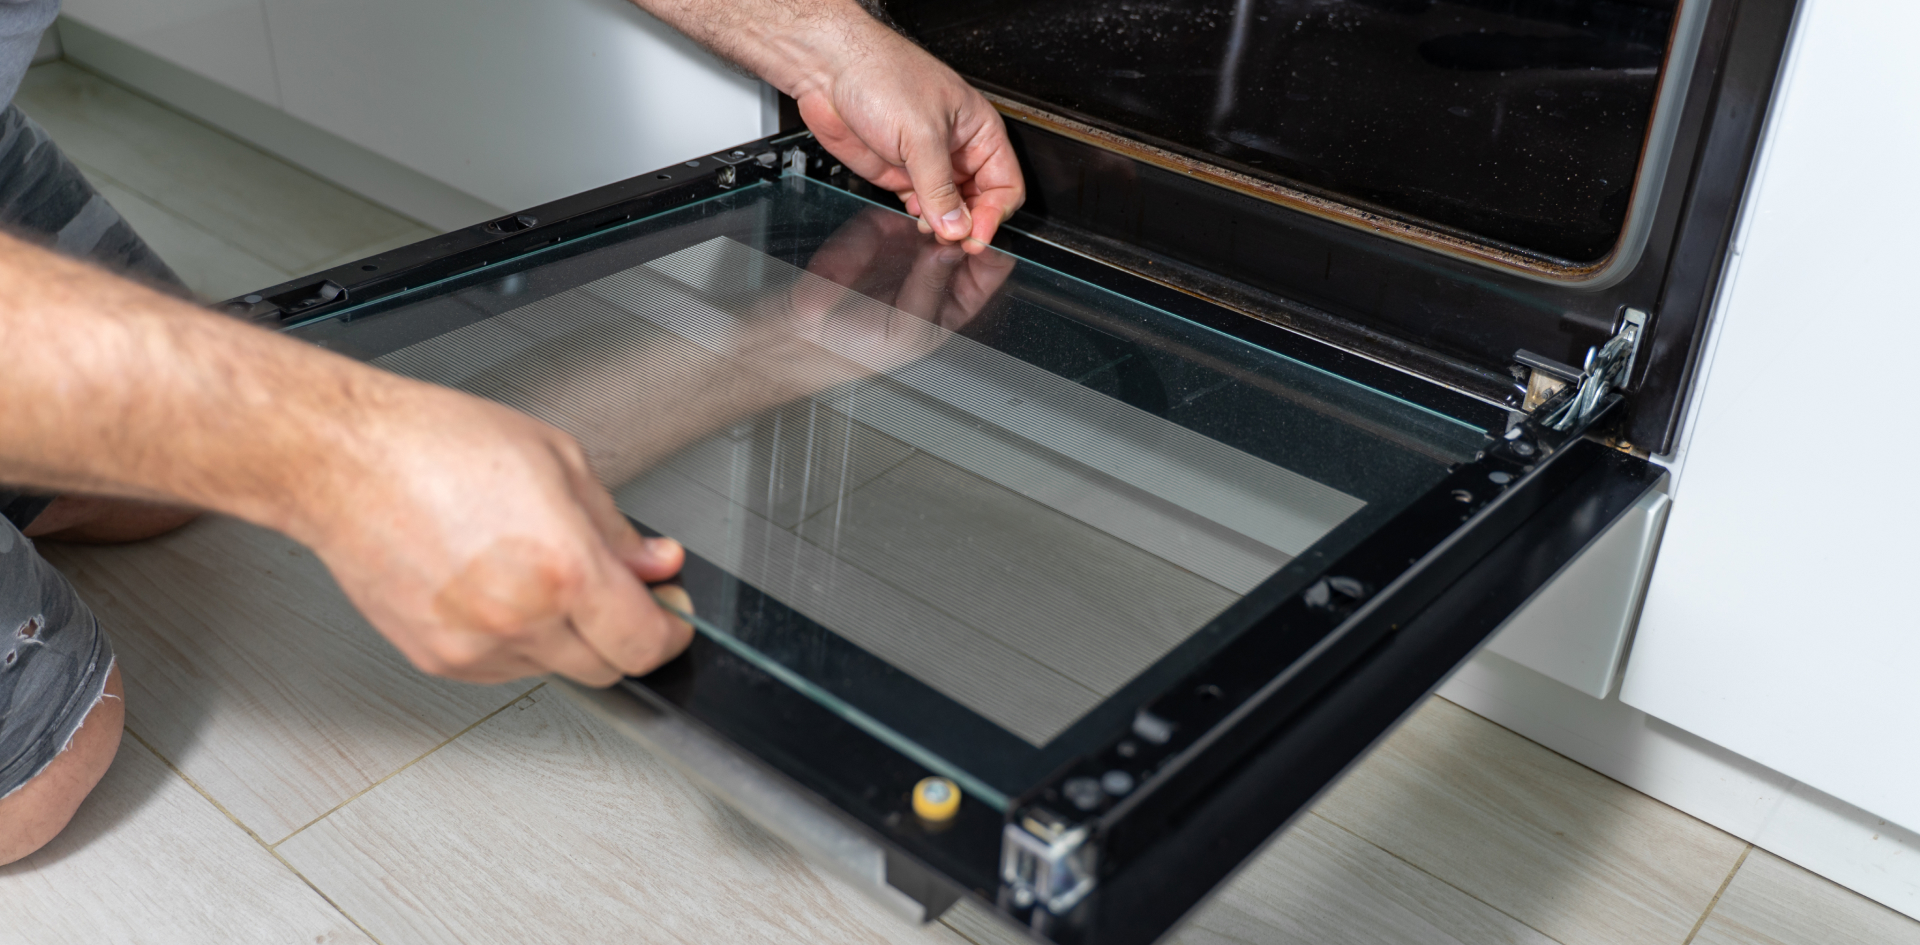
How to Clean a Glass Oven Door
In today’s modern kitchens, the oven often stands as a centerpiece, serving both a functional and aesthetic role. A clean oven not only ensures that your food cooks evenly without the taste of old residues but also contributes to the overall cleanliness and appeal of your kitchen. One of the most prominent parts of an […]

In today’s modern kitchens, the oven often stands as a centerpiece, serving both a functional and aesthetic role. A clean oven not only ensures that your food cooks evenly without the taste of old residues but also contributes to the overall cleanliness and appeal of your kitchen. One of the most prominent parts of an oven is the glass door. Over time, it can accumulate greasy stains, burnt-on food residues, and other unsightly marks. Cleaning it can restore your oven’s pristine look and enhance its performance. Let’s delve into how to effectively clean a glass oven door.
Why Cleaning the Glass Oven Door Matters
Beyond the obvious aesthetic reasons, here’s why a clean oven door is crucial:
- Efficiency: When you can clearly see through the oven door, you can monitor your food’s cooking progress without opening the oven, which can let out heat and disrupt the cooking process.
- Safety: Accumulated grease and grime can become a fire hazard if left unchecked.
- Hygiene: Regularly cleaning the oven door prevents the buildup of old food particles, which can breed bacteria and mold.
Gather Your Cleaning Supplies
Before diving into the cleaning process, assemble the following items:
- Baking soda
- White vinegar or lemon juice
- A spray bottle
- Warm water
- A soft cloth or sponge
- A plastic or silicone spatula
- Microfiber cloth (for polishing)
Steps to a Sparkling Oven Door
Step 1: Prepare a Baking Soda Paste
Mix half a cup of baking soda with a few tablespoons of water to form a paste. The consistency should be spreadable, similar to a thick pancake batter.
Step 2: Apply the Paste
Remove any large, loose debris from the oven door. Then, spread the baking soda paste over the entire glass surface, paying extra attention to particularly greasy spots or stubborn stains.
Step 3: Let it Sit
Allow the paste to sit on the oven door for at least 15 minutes. For tougher stains, you can leave it on for several hours or even overnight.
Step 4: Wipe Away the Paste
Using a wet soft cloth or sponge, gently wipe away the baking soda paste. Use a plastic or silicone spatula to help scrape off thicker sections of the paste or any stubborn residues.
Step 5: Use Vinegar or Lemon Juice
Fill a spray bottle with white vinegar or lemon juice. These natural acidic agents will help break down any grease or residue left behind by the baking soda. Spray the solution onto the oven door and wipe it clean with a soft cloth.
Step 6: Polish for a Clear Finish
For a streak-free finish, give the oven door a final wipe-down using a microfiber cloth. It will leave your glass shining and crystal clear.
Maintenance and Prevention
Prevention is always better than cure:
- Regular Wiping: After each cooking session, once the oven has cooled down, give the oven door a quick wipe. This can prevent buildup over time.
- Ventilation: Ensure your kitchen is well-ventilated when cooking. Using an extractor fan or opening a window can reduce the amount of grease and grime that settles on the oven door.
- Avoid Spillovers: If you’re baking or roasting something that might bubble over, place a tray or foil underneath to catch any drips.
Additional Tips
- If your oven door has metal trim or fixtures, avoid using abrasive materials or overly acidic solutions as they can tarnish or damage the finish.
- If your oven door is removable, taking it off can make the cleaning process easier. Consult your oven’s user manual for guidance.
- Some ovens come with self-cleaning features. While these are great for cleaning the oven’s interior, they often don’t adequately address stains on the glass door. Manual cleaning is still recommended for the door.
While a soiled oven door might seem like a minor issue, it plays a vital role in maintaining kitchen hygiene, efficiency, and safety. Regular cleaning ensures that you have a clear view of your culinary creations, and it also prolongs the life and appearance of your oven. With the steps outlined above, achieving a sparkling oven door is both simple and effective. As with any cleaning endeavor, consistency is key. Regular maintenance and a keen eye for spills will keep your oven looking and operating at its best. If ever in doubt, or if you’re dealing with particularly stubborn stains, don’t hesitate to seek expert advice or services. Happy cooking and cleaning!
Unseen but Deadly: Understanding the Causes of Carbon Monoxide in Homes

Carbon monoxide (CO) is a stealthy hazard, invisible to the senses but potentially lethal. This article seeks to demystify the origins of CO within the domestic environment, outlining preventive strategies, particularly from a construction standpoint, to safeguard against this silent threat. The Basics of Carbon Monoxide Carbon monoxide is a colorless, odorless gas produced by […]

Carbon monoxide (CO) is a stealthy hazard, invisible to the senses but potentially lethal. This article seeks to demystify the origins of CO within the domestic environment, outlining preventive strategies, particularly from a construction standpoint, to safeguard against this silent threat.
The Basics of Carbon Monoxide
Carbon monoxide is a colorless, odorless gas produced by the incomplete combustion of carbon-containing materials. It’s especially dangerous because it’s indiscernible without specialized detectors, and prolonged exposure can be fatal.
Common Sources in the Home
CO can emanate from a variety of household sources, many of which are commonplace:
- Furnaces/Boilers: Inadequate combustion or poor ventilation can lead to CO buildup.
- Gas Stoves: Malfunctioning or improperly used stoves are potential culprits.
- Water Heaters: Poorly maintained or incorrectly vented water heaters can produce CO.
- Fireplaces and Wood Stoves: Obstructed chimneys or inefficient burning can release CO.
- Motor Vehicles: Running a car in an attached garage can quickly fill a home with CO.
- Portable Generators: Using generators in enclosed or semi-enclosed spaces is risky.
The Role of Construction in CO Prevention
Construction professionals have a vital role to play in minimizing CO risks. Adequate planning and adherence to safety standards can significantly mitigate CO hazards:
- Proper Ventilation Systems: Ensuring that homes have well-designed ventilation to disperse CO effectively.
- Installation of CO Detectors: Integrating CO detectors into building designs for early detection.
- Safe Appliance Installation: Following manufacturer guidelines and building codes to ensure that fuel-burning appliances are installed safely.
- Regular Inspection Access: Designing homes so that heating systems and appliances are easily accessible for regular inspections and maintenance.
The Science of CO Buildup
The science of CO production is a matter of chemistry and physics. When fuels burn incompletely due to lack of oxygen, CO forms. Within the confined spaces of a home, it can accumulate to dangerous levels if not properly vented to the outside.
Health Risks and Symptoms of CO Poisoning
CO binds to hemoglobin in the blood more effectively than oxygen, leading to oxygen deprivation in tissues, known as hypoxia. Early symptoms include headaches, dizziness, and nausea, progressing to confusion, unconsciousness, and, if unaddressed, death.
Legal and Safety Regulations
There are stringent regulations regarding CO safety in homes. These include laws about the placement of CO detectors and standards for the installation of fuel-burning appliances. Builders must stay informed about these requirements to ensure compliance and safety.
Technological Advances in CO Detection
Advancements in technology have made CO detectors more accurate and user-friendly. Some now come with digital displays and interconnectivity with home automation systems, offering both warning and convenience.
Maintenance: A Crucial Factor
Maintenance is paramount in preventing CO incidents. Homeowners should have fuel-burning appliances serviced annually by a qualified technician to ensure they are functioning correctly and safely.
Construction Materials and CO
The materials used in construction can also impact CO levels. For instance, certain insulating materials may restrict airflow, reducing the oxygen available for combustion and increasing the risk of CO production.
Educating Homeowners
Part of a construction company’s responsibility is toeducate homeowners on the risks of CO and the importance of maintenance. Providing information on CO safety during the handover of a property can save lives.
The Economic Impact of CO Incidents
Beyond the human cost, CO incidents can have significant economic implications. Insurance claims, healthcare costs, and lost productivity are just some of the financial consequences associated with CO poisoning.
The Global Perspective
CO isn’t just a domestic issue; it’s a global concern. In less developed areas, where open fires indoors are more common, CO poisoning is a major health risk, underscoring the importance of safer construction practices worldwide.
Mitigating CO Risks During Renovations
During renovations, temporary heating solutions or changes to the home’s structure can introduce CO risks. Builders must be vigilant and use CO detectors to ensure the safety of occupants.
The Future of Home Safety
The future may hold further advancements in home safety, including smarter CO detectors and more efficient home designs that naturally reduce CO risks.
Carbon monoxide in the home is a silent danger, but with proper understanding and vigilance, it is preventable. The construction industry plays a pivotal role in this preventative approach, through safe design, proper appliance installation, and homeowner education. Awareness is the first step toward protection, and through the collective effort of builders, technicians, and residents, we can aim for a future where CO-related incidents are a thing of the past.
What is Construction: Building More Than Just Structures
Construction is the art and science of building structures, environments, and infrastructures that form the physical framework of our society. It’s an industry that turns architectural visions and engineering plans into reality. This article delves into the multifaceted world of construction, exploring what it entails, its various sectors, and its significant role in shaping our […]
Construction is the art and science of building structures, environments, and infrastructures that form the physical framework of our society. It’s an industry that turns architectural visions and engineering plans into reality. This article delves into the multifaceted world of construction, exploring what it entails, its various sectors, and its significant role in shaping our daily lives.
The Foundation of Construction
At its core, construction is about creating and assembling various components to build functional spaces for people to live, work, and play. This process can range from constructing residential homes to developing large-scale infrastructure projects like highways and dams.
Types of Construction Projects
- Residential Building: This area focuses on houses, apartments, and living complexes.
- Commercial Building: This encompasses offices, retail spaces, warehouses, and more.
- Industrial Building: These projects include factories, power plants, and manufacturing facilities.
- Infrastructure: This sector involves public works like bridges, roads, and water distribution systems.
- Institutional Construction: This refers to schools, hospitals, and government buildings.
Phases of Construction
Construction projects generally follow a standard lifecycle: planning, design, financing, building, and maintenance. Each phase involves meticulous planning and coordination to ensure project success.
- Planning: This initial stage determines the project’s feasibility, costs, and requirements.
- Design: Architects and engineers create detailed blueprints and plans for the structure.
- Financing: Securing the funds necessary to support the construction activities.
- Building: This is the execution phase where the physical construction takes place.
- Maintenance: Post-construction, structures require upkeep to prolong their lifespan and functionality.
The Role of Technology
Modern construction integrates technology at every stage. Building Information Modeling (BIM), for example, allows for the creation of digital representations of the building, enhancing planning and execution. Moreover, technological advancements like drones, 3D printing, and modular construction are revolutionizing the way we build.
Workforce and Skills
Construction is a labor-intensive industry relying on a diverse workforce, including laborers, skilled tradespeople, project managers, engineers, architects, and many others. These professionals must have a robust set of skills, from technical know-how to problem-solving abilities.
Safety and Regulations
A paramount aspect of construction is adhering to safety standards and building codes. These regulations are designed to protect workers and ensure that buildings are safe, sustainable, and accessible.
Environmental Impact and Sustainability
The industry is increasingly focused on reducing its environmental footprint by utilizing eco-friendly materials, minimizing waste, and incorporating energy-efficient designs. Green construction is not just a trend but a commitment to sustainable development.
Economic Impact
Construction drives economic growth. It creates jobs, generates investments, and stimulates the development of ancillary industries. Every construction project, be it small or large, contributes to the economic tapestry of the community.
The Challenges and Future of Construction
The construction sector faces challenges such as labor shortages, cost overruns, and project delays. However, the industry is evolving, embracing new technologies and methodologies to overcome these hurdles and improve productivity and quality.
Construction is more than the sum of its parts. It’s a complex and dynamic field that requires coordination, skill, and vision. Every building, road, or bridge is a testament to human ingenuity and the desire to build a better world. As a construction company, understanding the nuances of this industry allows for the delivery of projects that stand the test of time, serving as the backbone of our civilization. It’s an industry that doesn’t just construct buildings but also lays down the foundation for communities to thrive and for economies to prosper.
Clearing the Air: Effective Strategies for Eliminating Smoke Odor from Homes
The scent of smoke in a home can be both persistent and pervasive. For construction professionals, addressing this issue is not only about aesthetic appeal but also about creating a healthy living environment. This comprehensive guide will explore practical methods for eradicating smoke odor, taking into account both immediate treatments and long-term construction solutions. Understanding […]
The scent of smoke in a home can be both persistent and pervasive. For construction professionals, addressing this issue is not only about aesthetic appeal but also about creating a healthy living environment. This comprehensive guide will explore practical methods for eradicating smoke odor, taking into account both immediate treatments and long-term construction solutions.
Understanding Smoke Odor
Smoke from cigarettes, fires, or cooking mishaps is composed of a complex mixture of gases and tiny particles that can cling to almost every surface in a home. The tenacity of smoke odor is due to these microscopic particles, which can penetrate deep into materials.
Immediate Actions
Upon detecting a smoke odor, immediate action can prevent the smell from becoming more ingrained:
- Ventilation: Open windows and use fans to circulate fresh air and disperse smoke particles.
- Air Purifiers: Deploy air purifiers with HEPA filters to capture smoke particles suspended in the air.
Deep Cleaning
Eliminating smoke odor often requires a thorough cleaning of the home:
- Soft Furnishings: Wash or professionally clean curtains, upholstery, and carpets.
- Walls and Ceilings: Clean surfaces with a mixture of water and vinegar or a specialized smoke-removal cleaner.
- Hard Surfaces: Wipe down all hard surfaces, including cabinets, countertops, and floors, to remove any residue.
- Air Ducts: Have the HVAC system and air ducts cleaned to prevent the circulation of smoke particles.
Long-Term Construction Solutions
Incorporating materials and designs that resist smoke penetration can be a preventive measure in new builds or renovations:
- Non-Porous Materials: Use non-porous materials for countertops and sealed flooring to reduce the absorption of odors.
- Paints and Sealants: Apply paints or sealants designed to block odors on walls and ceilings.
- Upgraded Filtration Systems: Install advanced HVAC systems with carbon filters that can neutralize smoke particles.
Addressing Hidden Culprits
Smoke can seep into less obvious places that require attention:
- Insulation: Smoke-saturated insulation may need replacement.
- Behind Fixtures: Check behind light fixtures and electrical outlets where smoke residue can hide.
- Crawl Spaces: Inspect and clean crawl spaces and attics, as smoke can accumulate in these areas.
Technological Innovations
Explore the latest in smoke removal technology:
- Ozone Generators: While controversial and requiring professional handling, ozone generators can neutralize odors by breaking down smoke molecules.
- VOC Absorbents: Materials that absorb volatile organic compounds can help capture the odorous chemicals in smoke.
Preventive Measures
Advising homeowners on preventive strategies is crucial:
- Smoking Policies: Recommend that homeowners designate smoking areas away from the house.
- Regular Maintenance: Encourage regular cleaning of filters and surfaces to prevent odor buildup.
- Fire Safety: Implementing proper fire safety measures can prevent the occurrence of smoke from accidental fires.
The Science of Smell Removal
Understanding the chemistry behind odor removal can lead to more effective treatments. Certain substances, like baking soda or activated charcoal, are known for their ability to absorb smells.
Health Implications
Smoke residue can be a health hazard, particularly for individuals with respiratory issues. Ensuring a smoke-free environment is essential for the well-being of occupants.
The Role of Professional Services
In cases of severe smoke contamination, professional cleaning services that specialize in smoke and odor removal can be invaluable. They have the expertise and equipment necessary to perform deep cleanings and restorations.
Legal and Safety Considerations
Being aware of regulations regarding indoor air quality and the use of certain chemicals is important for compliance and safety during smoke removal processes.
Addressing the Issue at the Source
When smoke odor is a recurring problem, identifying and addressing the source — be it habitual smoking inside the home or a defective fireplace — is key to long-term odor management.
The Value of Fresh Air
Never underestimate the power of fresh air and good ventilation in maintaining a smoke-free environment. Construction designs that allow for adequate airflow can significantly reduce the accumulation of odors.
Educating Homeowners
Part of a construction company’s service can be educating homeowners on the importance of smoke odor removal and how to maintain a fresh-smelling home post-construction.
The challenge of removing smoke odor from homes is multifaceted, involving immediate remedies, thorough cleanings, and thoughtful construction practices. By combining these strategies with a deep understanding of the science behind smoke absorption and the health risks it poses, construction professionals can effectively tackle this issue, providing homeowners with a fresh, clean, and healthy living space. This not only enhances the quality of life but also protects the long-term integrity and value of the property.
Unraveling the Mysteries of House Fascia: The Unsung Hero of Home Exteriors
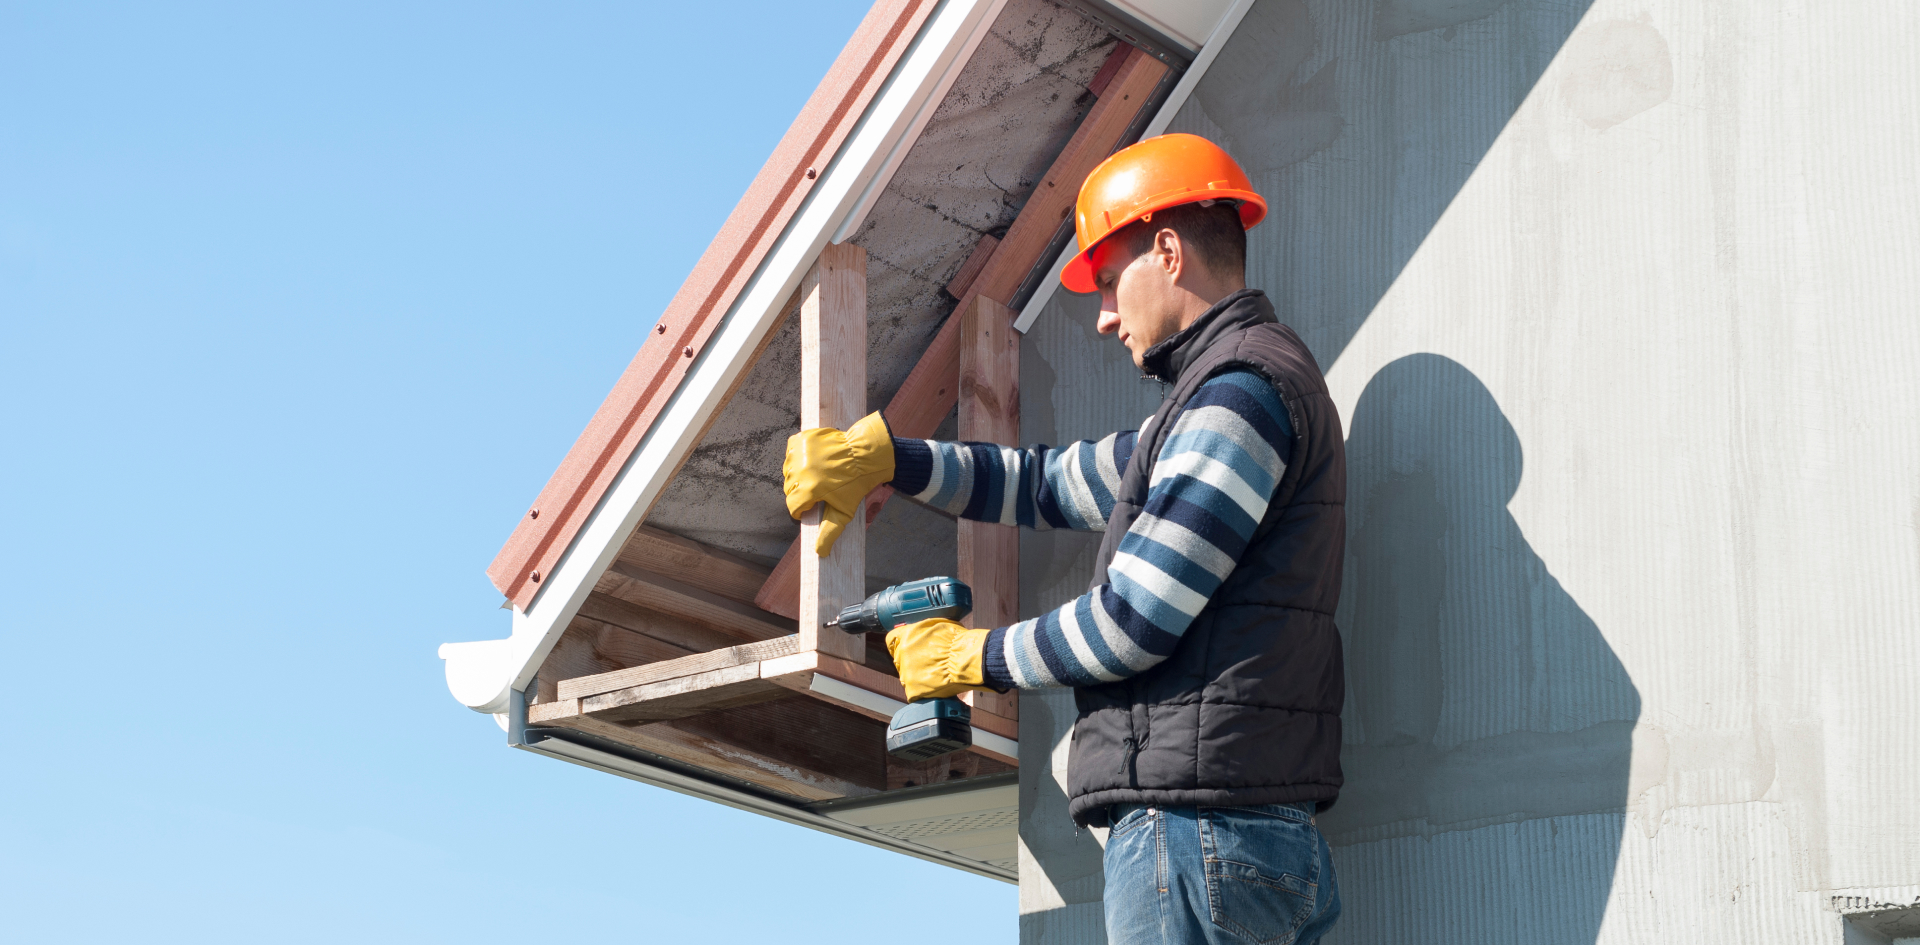
When admiring the exterior of a house, one might not immediately notice the fascia. However, this component plays a critical role in both the aesthetic finish and the functional integrity of a home’s roofing system. Here’s an in-depth look at what fascia is, its purpose, and its importance in residential construction. What Is Fascia on […]

When admiring the exterior of a house, one might not immediately notice the fascia. However, this component plays a critical role in both the aesthetic finish and the functional integrity of a home’s roofing system. Here’s an in-depth look at what fascia is, its purpose, and its importance in residential construction.
What Is Fascia on a House?
The fascia is a band running horizontally and situated vertically under a roof edge. It is the outward-facing board that you see on the front of your roof’s overhang. Fascia boards cap the end of rafters outside a building, which can be used to hold the rain gutter. They are not just for decoration; they protect the roof and the interior of the house from weather damage.
The Functional Role of Fascia
- Protection: Fascia serves as a barrier between the edge of the roof and the outdoors, protecting the wooden board against water damage that can occur during inclement weather.
- Support: It provides a point of attachment for the gutters and the roof tiles, ensuring that they remain secure and correctly positioned.
- Aesthetic: While not its primary function, fascia also contributes to the overall appearance of the house. It creates a smooth, finished look and can be painted to complement the home’s exterior.
Types of Fascia Materials
There are various materials used for fascia boards, each with its benefits and considerations:
- Wood: Traditional and versatile, wood fascia can be painted or stained but requires regular maintenance to prevent decay.
- Vinyl: Vinyl fascia is low maintenance and comes in various colors, but it may not match the durability of other materials over time.
- Aluminum: Often used as a cover over wooden fascia, aluminum is durable and low maintenance.
- Composite: These materials, like fiber cement, offer durability and resistance to rot but can be more expensive.
Installation and Maintenance
Proper installation of fascia is crucial for ensuring its longevity. The process generally involves measuring and cutting the chosen material to fit and securing it in place with nails or screws. Overlapping the boards correctly is vital to prevent water infiltration.
Maintenance involves regular inspections for signs of damage, such as cracks, rot, or peeling paint. Prompt repairs and repainting when necessary can extend the life of fascia boards significantly.
The Symbiotic Relationship with Soffit
Fascia is often discussed alongside soffit, the material covering the underside of the roof overhang. While fascia is the vertical finishing edge connected to the ends of the rafters, soffit lies beneath it, providing ventilation to the attic and a complete look. Together, they protect the roof structure and add to the house’s curb appeal.
Fascia and House Architecture
Different architectural styles may call for different types of fascia. For example, a Victorian-style home might feature ornately designed fascia boards, while a modern home might have sleek, plain fascia. The design chosen often reflects the home’s overall aesthetic and can range from simple and functional to intricate and decorative.
Challenges with Fascia
Despite its importance, fascia boards face several challenges:
- Weathering: Constant exposure to the elements means that fascia boards can deteriorate over time, requiring repair or replacement to prevent further damage to the roof or interior of the house.
- Pests: Fascia can also be vulnerable to pests like insects or birds, which may nest in or cause damage to the boards.
- Moisture: Incorrectly installed or failing gutters can lead to water damage on the fascia, resulting in rot or mold.
Advances in Fascia Technology
Construction technology advancements have introduced new materials and treatments for fascia, including those that mimic traditional materials with increased longevity and those that require minimal maintenance.
The Takeaway
While often overlooked, fascia is a vital part of a house’s exterior. Choosing the right material, ensuring proper installation, and maintaining it can prevent a multitude of problems and improve the lifespan of the home’s roof structure. For construction companies, educating homeowners on the value of good fascia can be part of comprehensive customer service that extends beyond the build, ensuring satisfaction and the structural health of the homes they create.
In sum, the fascia on a house is more than just a board; it’s an integral part of the roof system, providing aesthetic completeness and vital protection against the elements. As trends in home construction evolve, so too do the materials and methods for fascia installation and care, underscoring its unchanging importance in the anatomy of a house.
Tiny Homes, Big Dreams: A Step-by-Step Guide to Constructing Your Compact Abode
In a world where minimalism and sustainability are becoming increasingly important, the tiny house movement has captured the hearts of many. As a construction company, leading clients through the journey of building their own tiny house can be a rewarding venture. Here’s a detailed guide on how to construct a tiny home, balancing simplicity with […]
In a world where minimalism and sustainability are becoming increasingly important, the tiny house movement has captured the hearts of many. As a construction company, leading clients through the journey of building their own tiny house can be a rewarding venture. Here’s a detailed guide on how to construct a tiny home, balancing simplicity with thoroughness.
Understanding the Tiny House Movement
Before delving into construction, it’s essential to grasp why tiny houses have become so popular. They offer a simplistic lifestyle, less environmental impact, and financial freedom from large mortgages. Their appeal lies in the ability to live comfortably and stylishly in a space that only provides the necessities.
Planning: The Blueprint of Success
- Design and Layout: Begin with a clear design. Tiny houses often require innovative solutions to maximize space. Opt for a layout that offers multifunctional areas, clever storage solutions, and sufficient living space.
- Legalities: Investigate local zoning laws and building codes. Many areas have specific regulations regarding the size and placement of tiny homes.
- Budgeting: Calculate a budget, considering materials, labor, and any custom features. Tiny homes are cost-effective, but careful budgeting is still crucial to avoid overspending.
Foundation Choices
Decide whether your tiny home will be stationary or mobile. A permanent foundation requires traditional construction methods, while a mobile option typically involves building on a trailer.
- Permanent Foundation: Like traditional homes, a tiny house on a permanent foundation requires site preparation, which includes excavation and laying a solid base.
- Mobile Foundation: For a tiny house on wheels, purchase a sturdy trailer. The advantage of mobility comes with the need for careful weight distribution and securing the structure to the trailer.
Framing: Erecting Your Tiny Home’s Skeleton
Use lightweight materials without compromising on strength. Aluminum and wood are common choices. The frame determines the shape and structural integrity of your tiny house, so precision in measurements and cutting is key.
Insulation and Weatherproofing
Incorporate high-quality insulation to make the tiny house energy-efficient. Proper insulation is vital for comfort, especially in extreme climates. Weatherproofing, including a durable roof and siding, protects against the elements.
Interior and Exterior Finishes
Select materials that are durable yet lightweight. For interiors, multifunctional furniture and built-ins can save space. The exterior should reflect durability and personal style while being functional for the home’s environment.
Utilities: Power, Water, and Waste
Consider off-grid options like solar panels for electricity and composting toilets for waste management. For water, tiny homes can either connect to municipal services or implement rainwater catchment systems.
Smart Systems
Incorporate smart home technology to monitor and efficiently manage the use of resources. This can include everything from LED lighting to high-efficiency appliances.
Interior Design Strategies
Maximize space with foldable or convertible furniture. Built-in storage and vertical space utilization are also key strategies in tiny house design.
Community and Support
Engage with the tiny house community for advice and support. This network can be a valuable resource for sharing tips and tricks specific to tiny home construction.
The Build: A Step-by-Step Overview
- Foundation and Floor: After laying down the foundation, install the floor, which serves as the base for your tiny home.
- Walls and Roof: Construct the walls and roof, ensuring they are well-insulated and sealed.
- Doors and Windows: Install doors and windows, opting for energy-efficient options.
- Plumbing and Electrical: Rough in plumbing and electrical systems, adhering to code regulations.
- Interior Finishes: From wall cladding to flooring, complete the interior surfaces.
- Fixtures and Appliances: Install fixtures and appliances, choosing space-saving and energy-efficient models.
- Exterior Finishes: Apply siding, paint, and trim to protect and beautify the tiny home.
Quality and Inspection
Throughout the building process, maintain a high standard of quality. Inspections at various stages can ensure everything is up to code and properly constructed.
The Journey Beyond Construction
The completion of a tiny house is just the beginning. As a construction company, providing clients with guidance on maintenance and living in a small space can foster a continued relationship and enhance your reputation.
Building a tiny house is about crafting a space that embodies efficiency, sustainability, and simplicity. It’s a project that combines creativity with practicality, and the result is more than just a home – it’s a lifestyle choice. For those looking to embrace the tiny house movement, the construction process is an exciting journey, and the end product is a testament to the power of dreaming big, no matter the square footage.
How to Program a Chamberlain Garage Door Opener
In modern homes, the convenience of an automatic garage door opener is undeniable. Among the leading brands in this market is Chamberlain, known for its reliability and advanced features. If you’ve recently installed a Chamberlain garage door opener or need to reprogram your remote, you’ve come to the right place. This guide will walk you […]
In modern homes, the convenience of an automatic garage door opener is undeniable. Among the leading brands in this market is Chamberlain, known for its reliability and advanced features. If you’ve recently installed a Chamberlain garage door opener or need to reprogram your remote, you’ve come to the right place. This guide will walk you through the programming steps, ensuring smooth and hassle-free operation.
Why Chamberlain?
Before diving into the programming process, let’s appreciate why many homeowners opt for Chamberlain:
- Innovative Technology: Chamberlain incorporates the latest technology, such as MyQ, which allows users to control and monitor their garage doors through smartphones.
- Safety Features: Built-in sensors detect obstacles and reverse the door, preventing accidents.
- Reliability: The brand is known for durable and long-lasting products.
Programming Basics
Chamberlain garage door openers can be programmed in a few different ways:
- Remote Control: The handheld device you use to open or close the garage door.
- Keypad: A wall-mounted, exterior keypad that requires a security code to operate.
HomeLink: A built-in car remote system available in many vehicles.
Programming the Chamberlain Remote Control
1. Locate the ‘Learn’ Button
On your Chamberlain garage door opener, there’s a ‘Learn’ or ‘Program’ button. Its location can vary depending on the model, but it’s typically found on the back or side of the machine.
2. Press the ‘Learn’ Button
Press and release this button. When you do, a LED light near the button will illuminate for 30 seconds, indicating the opener is in programming mode.
3. Program the Remote
While the opener is in programming mode, press and hold the button you wish to program on your Chamberlain remote control. Release the button when the garage door opener’s lights flash or you hear a click sound. This confirms the remote has been programmed.
Programming the Chamberlain Keypad
1. Press the ‘Learn’ Button
As with the remote, start by pressing the ‘Learn’ button on the garage door opener.
2. Enter Your Code
On the keypad, type in your desired four-digit security code.
3. Finalize Programming
Press and hold the ‘Enter’ button on the keypad until the garage door opener’s lights flash or a click is heard. This confirms the keypad has been programmed.
Programming Using HomeLink
If your vehicle comes equipped with HomeLink, you can use it to control your Chamberlain garage door opener.
1. Reset HomeLink
To start afresh, press and hold the two outer HomeLink buttons (ignoring the LED indicator) until the indicator flashes rapidly. This will take about 20 seconds.
2. Program HomeLink
Hold the Chamberlain remote one to three inches away from the HomeLink button you wish to program. Press both the Chamberlain remote button and the desired HomeLink button simultaneously until the HomeLink LED flashes rapidly.
3. Connect to the Garage Door Opener
Press the ‘Learn’ button on your garage door opener, then, within 30 seconds, press the programmed HomeLink button in your car for two seconds, release, and press again for two seconds. This will establish the connection.
Troubleshooting Tips
- Reset and Retry: If you encounter any challenges, reset your remote, keypad, or HomeLink and start the process again.
- Battery Check: Ensure the remote’s batteries are functional. Replace if necessary.
- Interference: Other electronic devices can sometimes interfere with the programming process. Ensure other devices are off or distant from the opener during programming.
- Consult the Manual: Chamberlain models can vary, so consulting the user manual specific to your model can offer tailored guidance.
Safety Considerations
- Keep Out of Children’s Reach: Ensure remotes and openers are away from children. Educate them about garage door safety.
- Regular Checks: Test the reversing feature and other safety functions periodically.
- Maintain Clear Path: Ensure the path of the garage door is clear of objects or debris to prevent accidents.
Programming your Chamberlain garage door opener enhances the convenience and security of your home. By following the above steps, you can easily set up your remote, keypad, or in-car system to work seamlessly with your opener. However, always refer to the specific model’s manual for any nuances in the programming process. And remember, with any significant home improvement or adjustment, if you ever feel overwhelmed or unsure, seeking professional assistance or advice is always a wise move. Happy programming!
How to Install a Pocket Door: A Handy Guide for Modern Homes
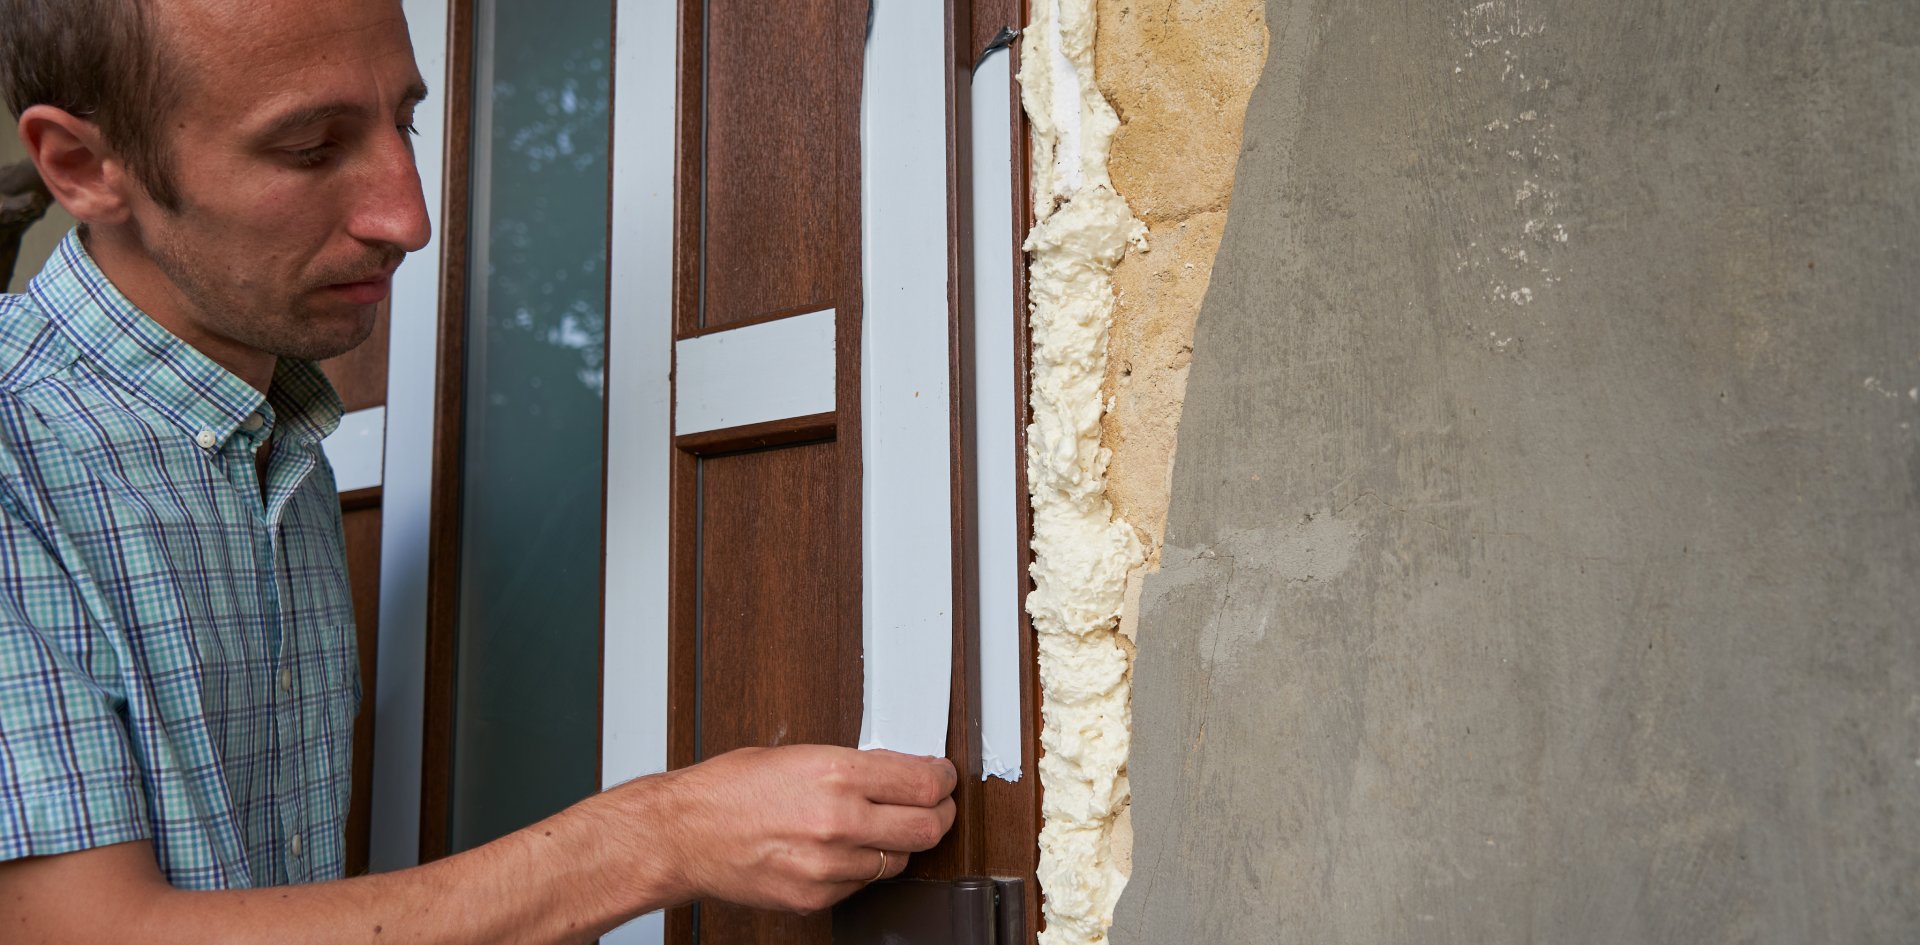
Why Choose a Pocket Door? Space Savers: Ideal for tight spaces where a swinging door might interfere with furnishings or foot traffic. Aesthetic Appeal: Offers a modern look, making spaces seem connected and open. Flexibility: Great for dividing larger rooms or adding privacy when needed. Tools and Materials Needed Pocket door kit (includes track, rollers, […]
Why Choose a Pocket Door?
Space Savers:
Ideal for tight spaces where a swinging door might interfere with furnishings or foot traffic.
Aesthetic Appeal:
Offers a modern look, making spaces seem connected and open.
Flexibility:
Great for dividing larger rooms or adding privacy when needed.
Tools and Materials Needed
Pocket door kit (includes track, rollers, and door)
Stud finder
Level
Tape measure
Circular saw
Utility knife
Screwdriver or cordless drill
Drywall and joint compound
Drywall saw
2x4 lumber (for framing)
Shims
Pencil
Preparation
Check for Obstructions:
Use a stud finder to locate any electrical wiring, plumbing, or studs where you plan to install the pocket door. Relocate any obstructions.
Select the Right Door:
Ensure your chosen door is the right size for your space and fits the pocket door kit specifications.
Removing the Existing Door (If Any)
Safety First:
Wear protective eyewear and gloves.
Trim Removal:
Gently remove casings or moldings using a pry bar.
Remove the Door:
Unscrew the hinges and lift the old door out.
Safety First:
Wear protective eyewear and gloves.
Trim Removal:
Gently remove casings or moldings using a pry bar.
Remove the Door:
Unscrew the hinges and lift the old door out.
Frame the Pocket Door Space
Cut the Opening:
Mark the dimensions of the pocket door on the wall. Using a circular saw, cut the drywall and expose the studs.
Remove Studs:
If the exposed area has studs, carefully remove them.
Install the Pocket Door Header:
Secure the header (from the kit) to the top of the opening. Ensure it's level.
Install Split Studs:
These are special studs that allow the door to slide within the wall. Follow the kit's instructions.
Installing the Pocket Door
Attach the Track:
Secure the track to the pocket door header. This track will guide the door and ensure smooth movement.
Hang the Door:
Attach the hanging hardware to the top of the door. Lift the door and hook it onto the rollers in the track. Ensure the door slides smoothly.
Secure the Door Guides:
At the base of the door, attach the guides that come with the kit. They keep the door steady while it moves.
Finishing Touches
Drywall:
Attach new drywall over the pocket door frame. Use joint compound to seal any seams or screw holes, then sand smooth.
Paint:
Once the drywall is smooth, paint to match the rest of the room.
Attach Door Hardware:
Install the door handle or pull, ensuring it doesn't interfere with the door's movement.
Maintenance and Care
Regular Check-ups:
Periodically check the track and rollers for wear and tear.
Lubrication:
Occasionally lubricate the track and rollers to ensure smooth sliding.
Door Alignment:
If the door comes off the track or seems misaligned, adjust the hanging hardware.
While installing a pocket door can be a rewarding DIY project, it does require attention to detail and some basic carpentry skills. It's essential to ensure the door is level and slides smoothly, as fixing errors after the fact can be challenging.
If you're uncertain about any steps or face challenges like relocating electrical wiring or plumbing, don't hesitate to consult with or hire a professional. After all, the charm of a pocket door lies not just in its aesthetic appeal but also its functionality.